Codeless Deep Learning Pipelines with Ludwig and comet.ml
How to use Ludwig and comet.ml together to build powerful deep learning models right in your command line — using an example text classification model

Ludwig is a TensorFlow-based toolbox that allows users to train and test deep learning models without the need to write code.
By offering a well-defined, codeless deep learning pipeline from beginning to end, Ludwig enables practitioners and researchers alike to quickly train and test their models and obtain strong baselines to compare experiments against.
“Ludwig helps us build state of the art models without writing code, and by integrating Ludwig with Comet, we can track all of our experiments in a reproducible way, gain visibility, and a better understanding of the research process.” — Piero Molino, Senior ML / NLP Research Scientist at Uber AI Labs and Creator of Ludwig
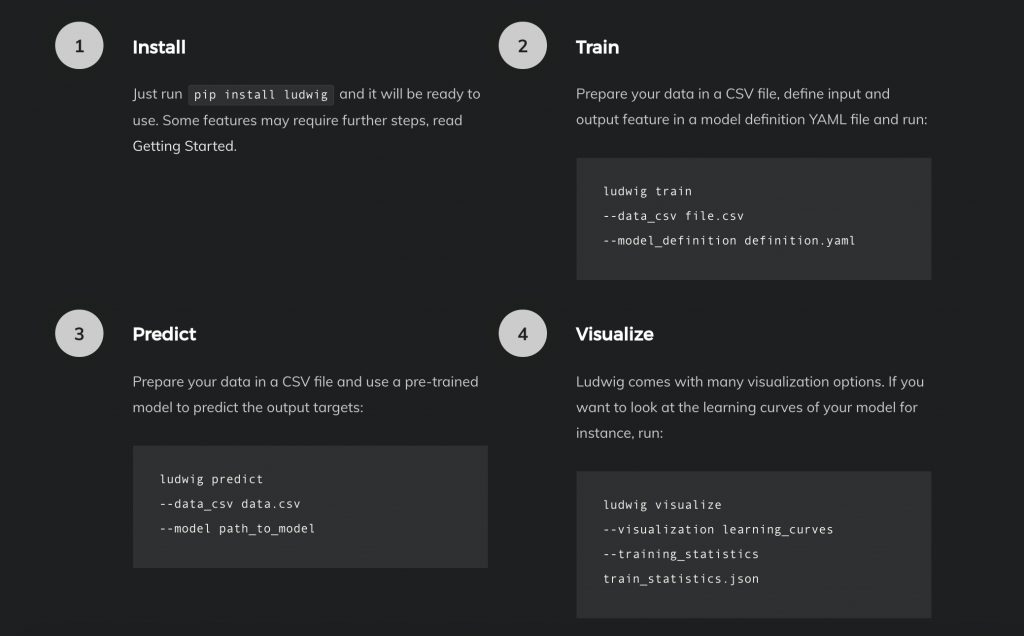
Ludwig offers CLI commands for preprocessing data, training, issuing predictions, and visualizations. In this post, we’ll show you how to use Ludwig and track your Ludwig experiments with comet.ml.
See the Ludwig Github repo here

Here at comet.ml, we were excited by the potential for Ludwig to fill a void in the machine learning ecosystem. Ludwig finally takes the idea of abstract representations of machine learning models, training, data, and visualizations and turns them into a seamless, executable pipeline from start to finish.
This means that we can finally spend less time:
- dealing with data preprocessing for different data types ☠️
- meshing different model architectures just to get simple baseline models
- writing code to make predictions
and more time:
- getting transparent results
Integrating Comet with Ludwig
We worked with the Ludwig team to integrate comet.ml so that users can track Ludwig-based experiments live as they are training.
There are three main areas where comet.ml complements Ludwig:
- Comparing multiple Ludwig experiments: Ludwig makes it easy for you to train and iterate through different models and parameters sets. Comet provides an interface to help you keep track of the results and details across those different experiments.
- Organized store for your analysis: Ludwig allows you to generate cool visualizations around the training process and results. Comet allows you to keep track of those visualizations and automatically associates them with your experiments instead of having to save them somewhere.
- Meta-analysis for your experiments: You’ll probably do multiple iterations ofyour Ludwig experiments. Tracking them with Comet enables you analyze things like which parameters work in order to build a better model.
By running your Ludwig experiment with comet.ml, you can capture your experiment’s:
- code (the command line arguments you used)
- live performance charts so you can see the model metrics in real-time (as opposed to waiting until training is done)
- visualizations you created with Ludwig
- environment details (eg. package versions)
- history of runs (HTML tab)
…and more!
Running Ludwig with Comet
1. Install Ludwig for Python (and spacy for English as a dependency since we’re using text features for this example). This example has been tested with Python 3.6.
$ pip install ludwig
$ python -m spacy download en
If you encounter problems installing gmpy please install libgmp or gmp. On Debian-based Linux distributions: sudo apt-get install libgmp3-dev. On MacOS : brew install gmp.
2. Install Comet:
$ pip install comet_ml3. Set up your Comet credentials:
- Get your API key at https://www.comet.com
- Make that API key available to Ludwig and set which Comet Project you’d like the Ludwig experiment details to report to:
$ export COMET_API_KEY="..."
$ export COMET_PROJECT_NAME="..."
4. We recommend that you create a new directory for each Ludwig experiment.
$ mkdir experiment1
$ cd experiment1
Some background: every time you want to create a new model and train it, you will use one of two commands —
— train
— experiment
Once you run these commands with the--cometflag, a.comet.configfile is created. This.comet.configfile pulls your API key and Comet Project name from the environment variables you set above.
If you want to run another experiment, it is recommended that you create a new directory.
5. Download the dataset. For this example, we will be working on a text classification use case with the Reuters-21578 , a well-known newswire dataset. It only contains 21,578 newswire documents grouped into 6 categories. Two are ‘big’ categories (many positive documents), two are ‘medium’ categories, and two are ‘small’ categories (few positive documents).
- Small categories: heat.csv, housing.csv
- Medium categories: coffee.csv, gold.csv
- Big categories: acq.csv, earn.csv
$ curl http://boston.lti.cs.cmu.edu/classes/95-865-K/HW/HW2/reuters-allcats-6.zip -o reuters-allcats-6.zip
$ unzip reuters-allcats-6.zip
6. Define the model we wish to build with the input and output features we want. Create a file named model_definition.yaml with these contents:
input_features:
    -
        name: text
        type: text
        level: word
        encoder: parallel_cnn
output_features:
    -
        name: class
        type: category
7. Train the model with the new --comet flag
$ ludwig experiment --comet --data_csv reuters-allcats.csv \
    --model_definition_file model_definition.yaml
Once you run this, a Comet experiment will be created. Check your output for that Comet experiment URL and press on that URL.
8. In Comet, you’ll be able to see:
- your live model metrics in real-time on the Charts tab
- the bash command you ran to train your experiment along with any run arguments in the Code tab
- hyperparameters that Ludwig is using (defaults) in the Hyper parameter tab
and much more! See this sample experiment here

If you choose to make any visualizations with Ludwig, it’s also possible to upload these visualizations to Comet’s Image Tab by running:
$ ludwig visualize --comet \
    --visualization learning_curves \
    --training_statistics \
    ./results/experiment_run_0/training_statistics.json

